Blog
Planning a Temporary Site Hoarding Perimeter: Panels, Gates and Accessories

A temporary hoarding line does more than mark a site boundary. It can help control access, screen work and organise deliveries, but only when the panels, gates and fittings are planned as one system. Use this guide to prepare a practical perimeter plan before ordering or installing equipment.
Start with the boundary and the people around it
Mark the proposed line on a site plan and note public paths, neighbouring entrances, vehicle routes, loading areas and emergency access. Consider where people could approach the work and how unauthorised entry will be discouraged. The right boundary depends on the site and its risks; HSE guidance treats fencing and hoarding as part of protecting the public during construction. In populated areas, HSE says a fence or hoarding is typically around two metres high, but that is guidance to assess against the circumstances, not a universal specification.
Choose panels for the job
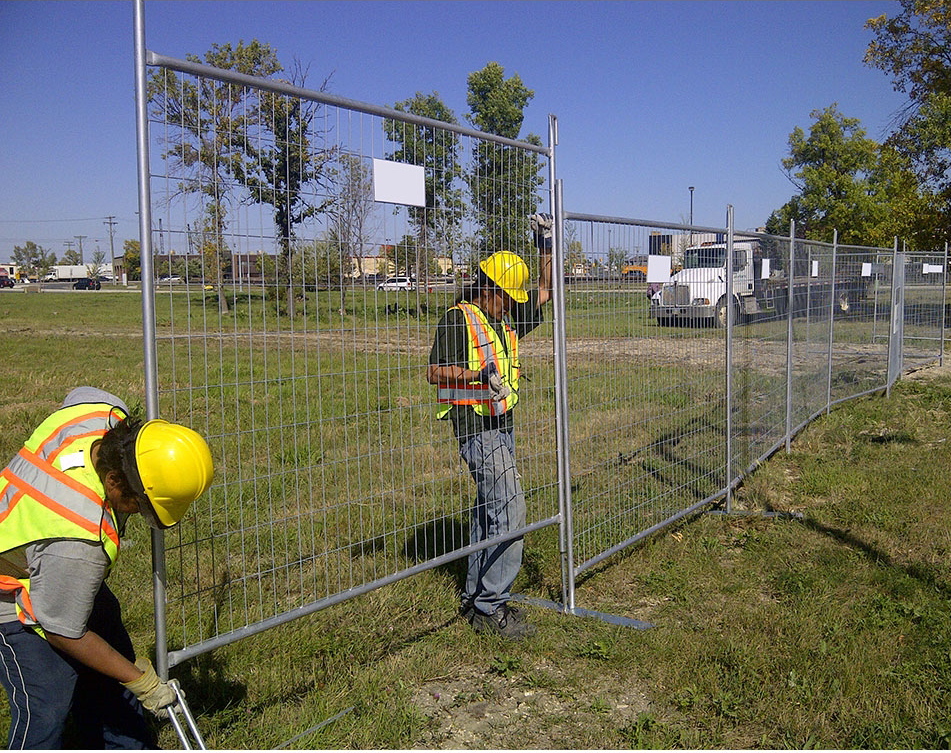
Mesh temporary fencing gives a visible boundary and allows airflow through the panels. Solid hoarding provides more screening and privacy. Think about what the public needs to see, whether work or stored materials should be screened, and how the boundary will affect visibility at entrances and corners.
Solid panels can catch more wind than open mesh. Do not assume that a panel height or a standard foot makes a line suitable for every location. The support arrangement and installation need to suit the system, ground and foreseeable conditions. HSE classifies site fencing and hoarding as temporary works: they should be planned, designed, installed and maintained for their intended purpose and foreseeable loads.
Plan gates around real movements
Show pedestrian and vehicle gates on the layout before choosing panel quantities. Put entrances where they can be controlled and where people or vehicles can approach and leave safely. Check vehicle turning and delivery space, and consider whether separate pedestrian access will reduce conflicts. Make sure gate dimensions and fittings are compatible with the selected panel system, and decide how access will be secured outside working hours.
Check the complete parts list
A perimeter is a system, so confirm that each component matches the panels and the supplier’s assembly instructions. Depending on the design, the list may include:
- hoarding panels and any matching infill panels;
- feet, couplers and specified stabilising components;
- pedestrian or vehicle gates with compatible fittings;
- signage, privacy accessories or other site-specific items; and
- storage stillages if panels need to be moved or stored between uses.
Do not assume that couplers, feet or infills from different ranges will fit together. Confirm quantities, compatibility and any design requirements with the supplier before placing an order.
Keep the boundary effective after installation
Check the installed line for gaps, loose connections and gates that do not close securely. Keep the public side clear and maintain access routes. Inspect the boundary as work progresses and after events that could affect it, and arrange repairs promptly. HSE’s temporary works guidance emphasises planning, coordination and control throughout the work, rather than treating installation as the end of the process.
Perimeter planning checklist
- Have you marked the site boundary, public routes and access points?
- Does the panel type suit the required screening and site conditions?
- Are gate positions and sizes suitable for pedestrian and delivery movements?
- Have you confirmed compatible feet, couplers, infills and accessories?
- Who will check, maintain and secure the perimeter during the project?
Explore Fencify’s temporary hoarding range and temporary fencing products when preparing your equipment list. For a site-specific design, installation plan or safety decision, consult a competent temporary works professional and the equipment supplier.